
My previous post was all about the fried ripe plantain, which introduced how to use a plantain at the end of it’s peak.
Double Fried Plantains, Tostones, utilizes the plantain in its green unripened stage.

Light, airy, salty, they are as satisfying as french fries and as addictive.

I remember watching my grandmother Mama fry thick rounds of green plantain pieces until they were golden yellow, then pass them out of the oil straight to my grandfather, Koki, who would promptly place a round in the center of his wooden plantain press, known as a tostonera, and one by one, would flatten the batch, which would then promptly placed back into the hot oil by Mama, for a second frying. It’s was like watching them perform an intricate dance of fry, smash and fry. Once removed from the oil, they would be plated, salted,and served immediately, being passed from person to person, until there were none left.
I was not so graceful when I first prepared tostones. Mama and Koki had made it look so easy, that I underestimated the difficulty of the solo execution of the three step cooking process of frying/smashing/frying without burning myself or the plantains. I figured out that it was OK to turn off the oil after the first round of frying, and take my time smashing the plantains, then reheat the oil for the second fry process. They turned out just fine.
The tostonera press is not a necessary tool. Koki had also used a folded paper grocery bag and the heel of his hand bag to flatten them, which worked just as well. I did not have a tostonera and found the paper bag a good substitute, just make sure you fold it a few times, to protect yourself from the heat of the plantain. You can also place them on wax paper, fold it over, and use a thick flat surface such as cutting board to press down. You do not need or want to press too hard, causing the plantain to stick to bag & break into pieces. It’s really a gentle push to flatten the round.
If are into kitchen gadgets and interested in purchasing a tostonera, here are links to the online stores, Cuban Food Market, http://www.cubanfoodmarket.com, and Tostobueno, http://tostobueno.com/, which sell all kinds of tostoneras
The recipe for tostones is similar to maduros (sweet fried plantains), except for the added steps of smashing and re-frying. This is recipe is also mindful that there is only one cook preparing these, however if you have someone to smash while you fry, you can keep the oil on and continue with the second fry step. I recommend to provide your smashing helper with a cocktail, and yourself as well. Keeps the atmosphere festive in a hot kitchen.
You may use as many plantains you like, depending on the size of the crowd.
I like to serve them with Mojo, a condiment made from fresh garlic, salt and lemon juice.
Tostones
3 Green Plaintains
Canola or Vegetable Oil
For Mojo Condiment:
3 Lemons
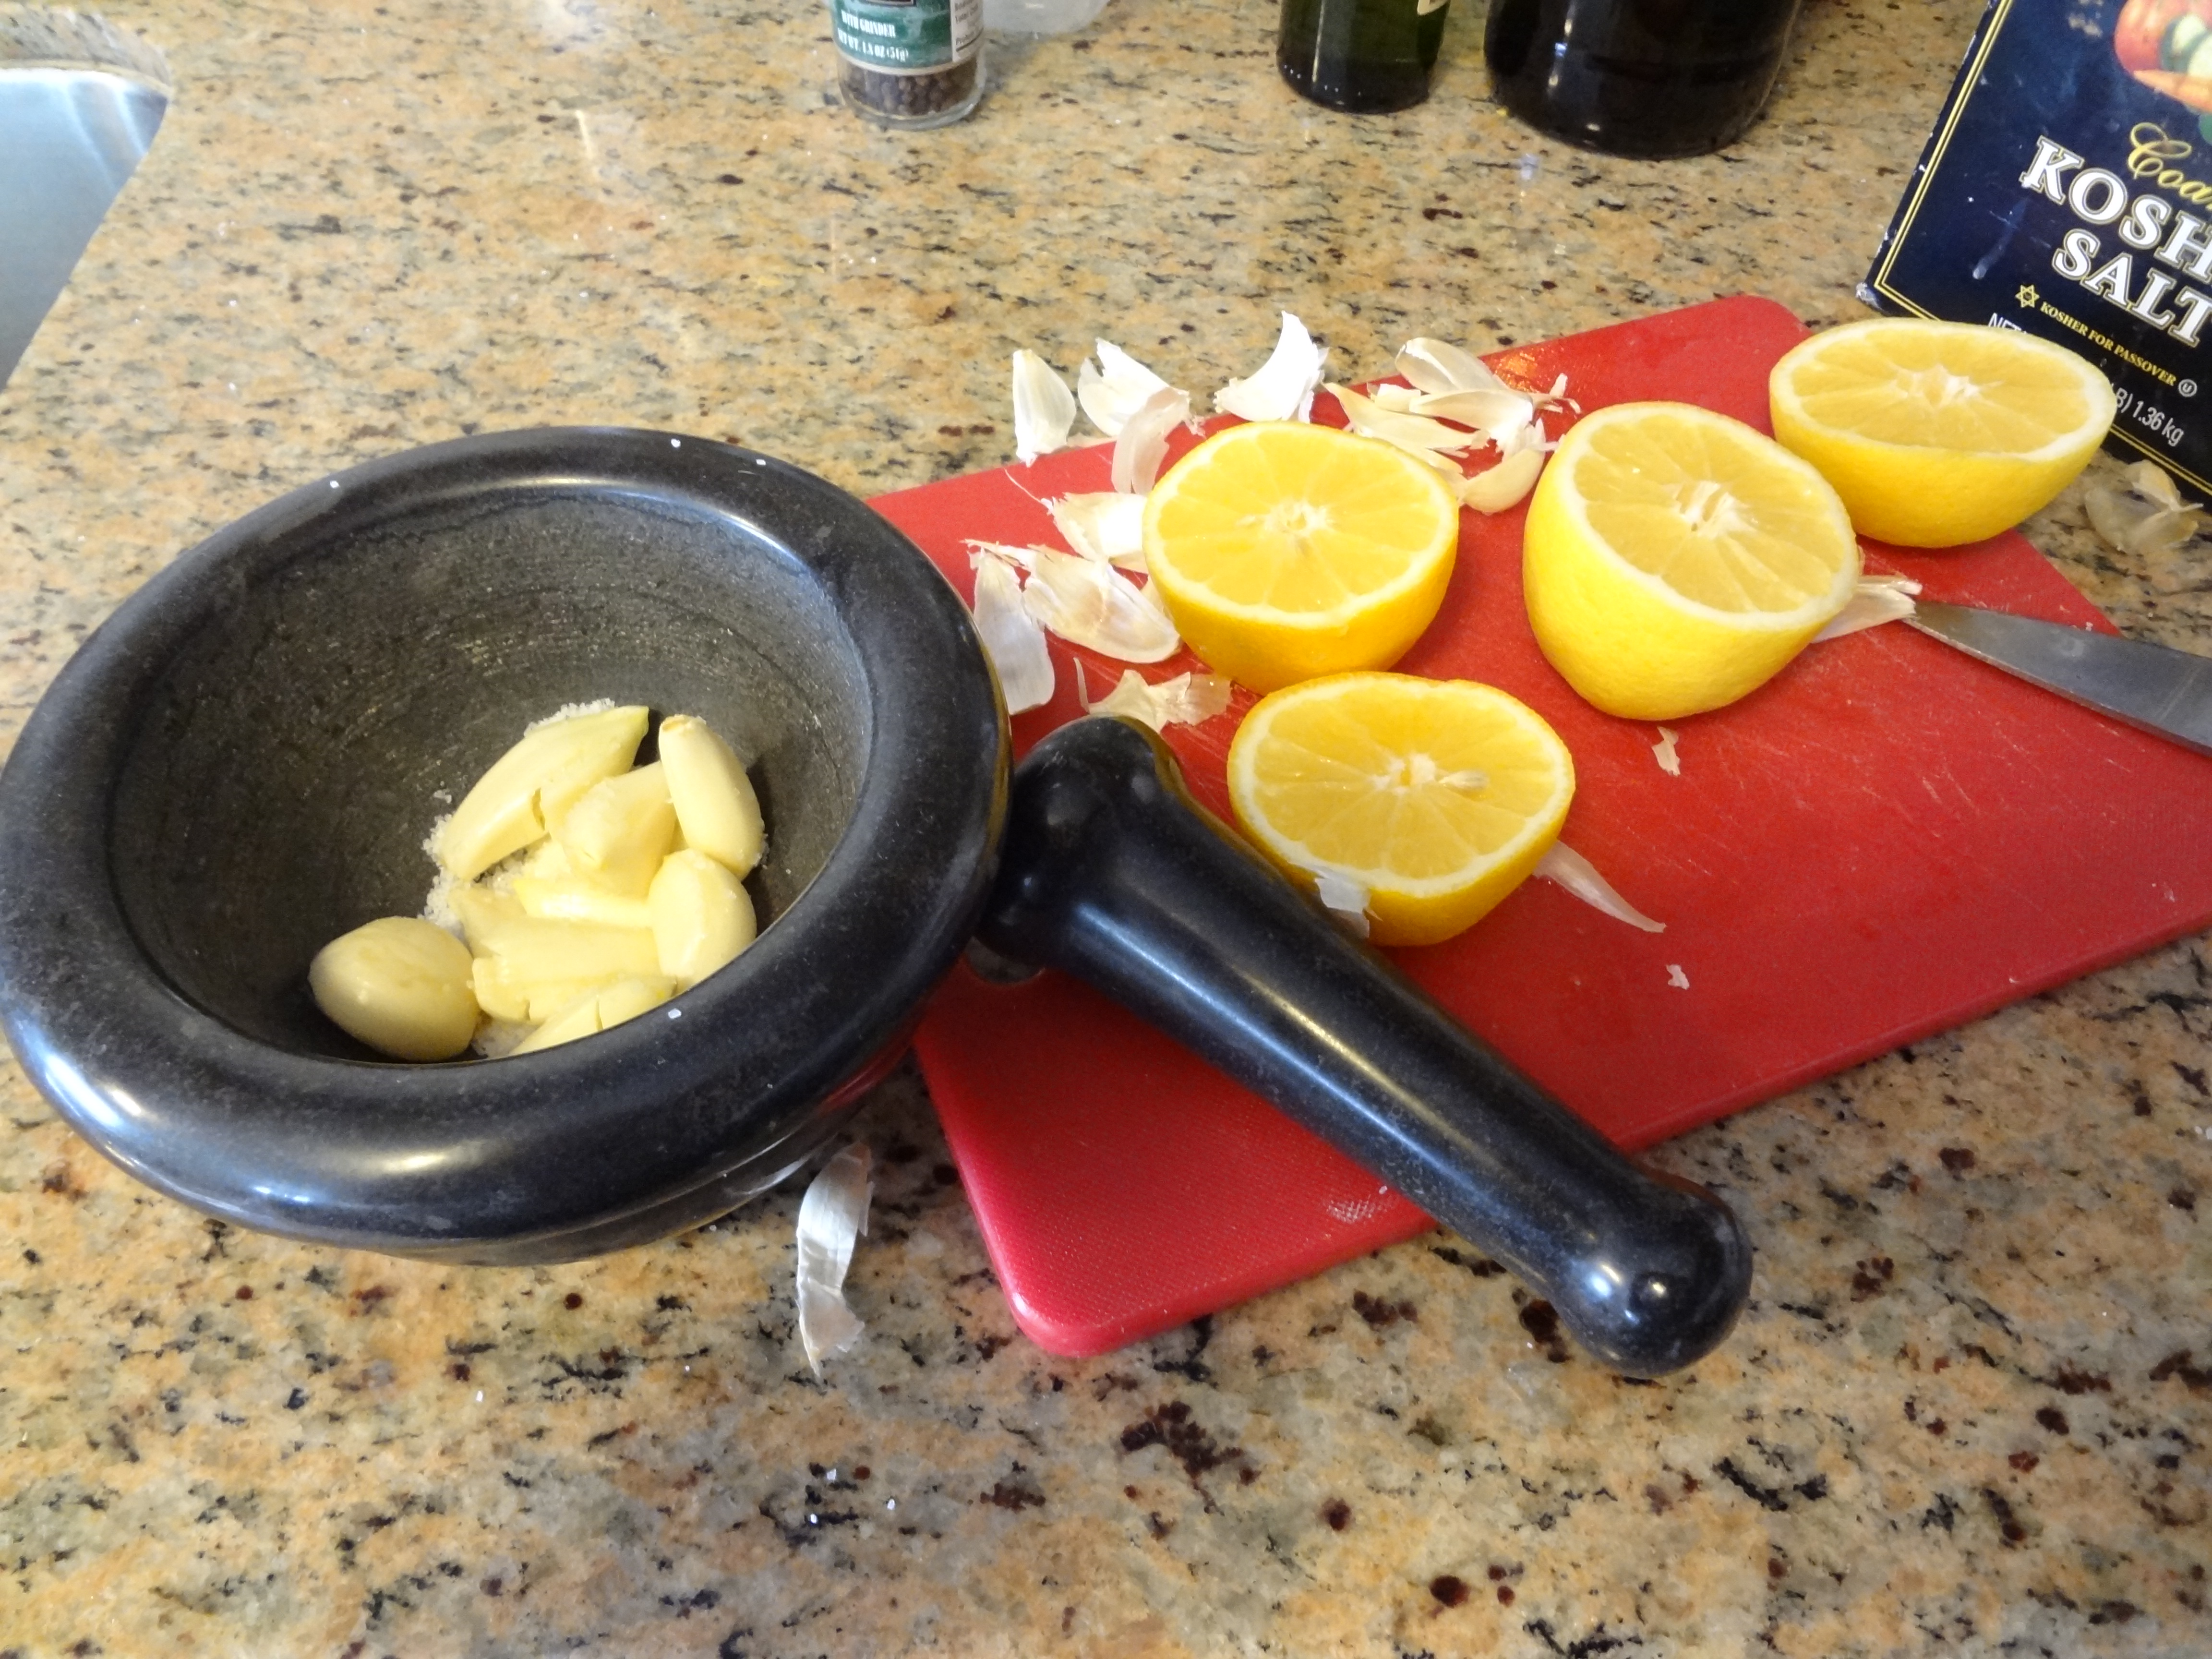
8 Cloves of Garlic
Kosher Salt or Coarse Sea Salt
Mortar & Pestle
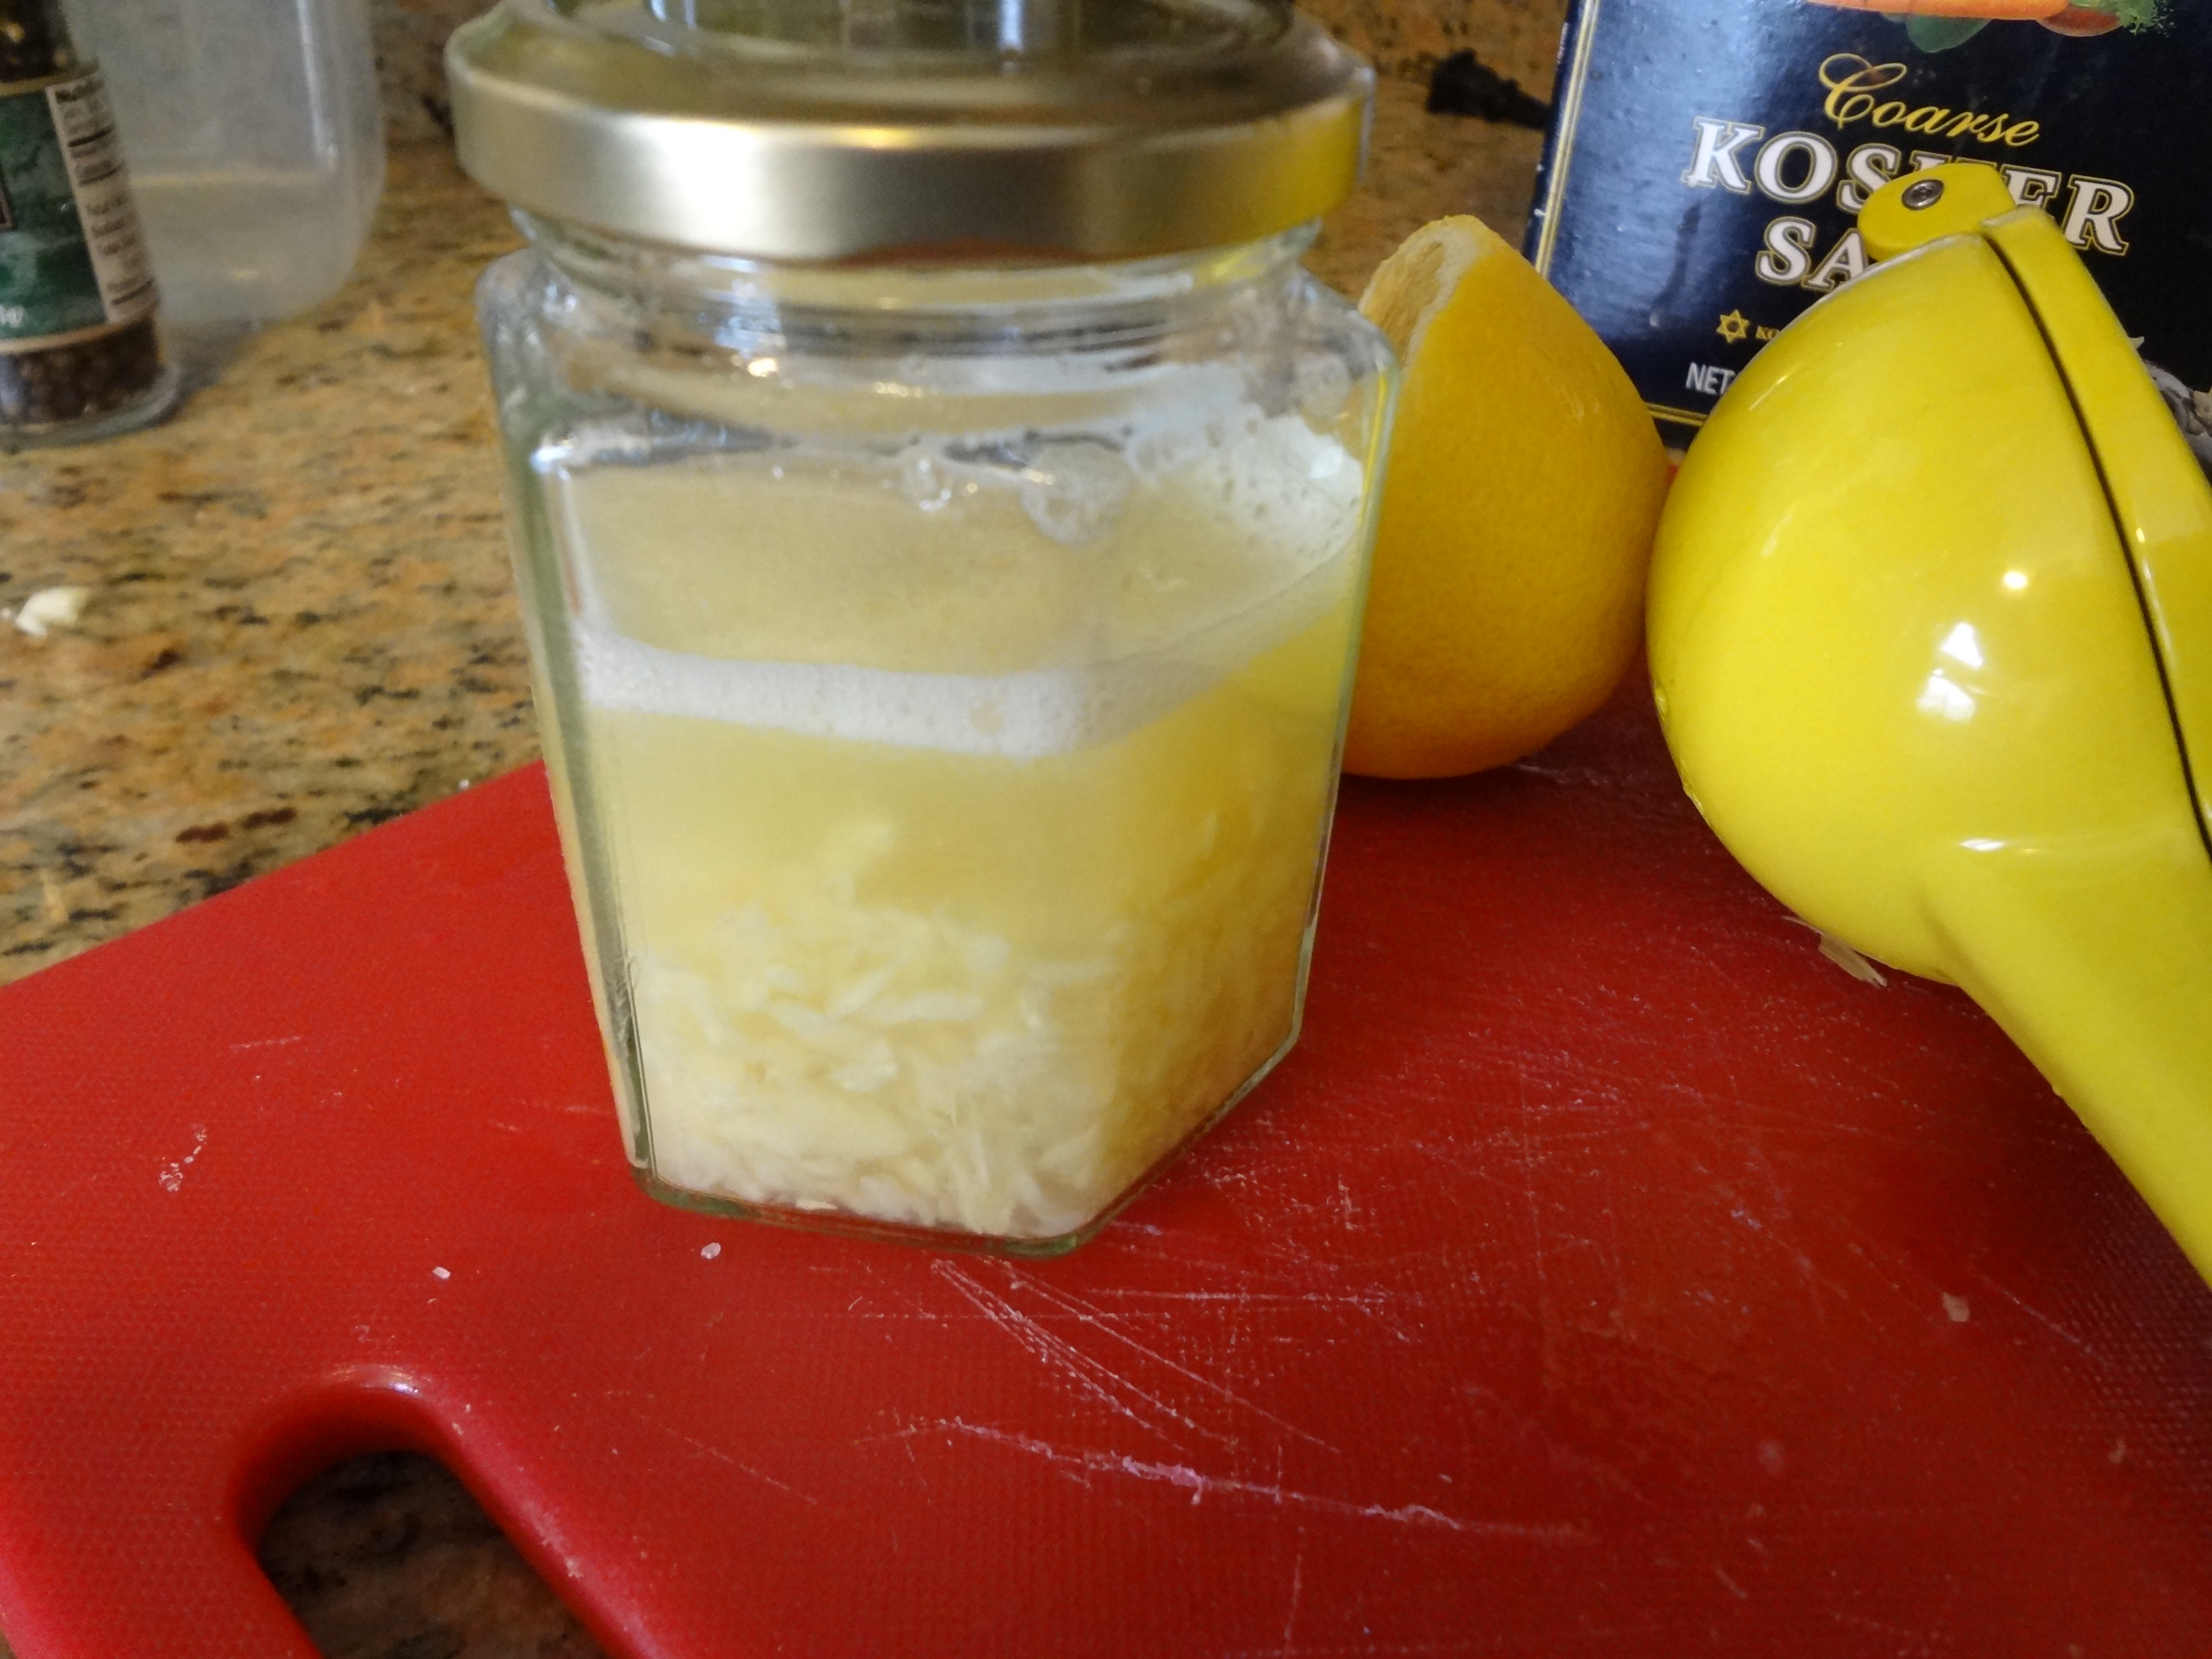
Small glass jar ( I use an old jam jar)
You’ll want to prepare the Mojo first to give the dressing time to come together.
Place the garlic and salt in the mortar and use the pestle to smash the garlic and salt into a paste. Transfer garlic paste into an jar and add fresh squeezed lemon juice. Cover the jar tight and shake to mix. Let sit until ready to serve with Tostones.


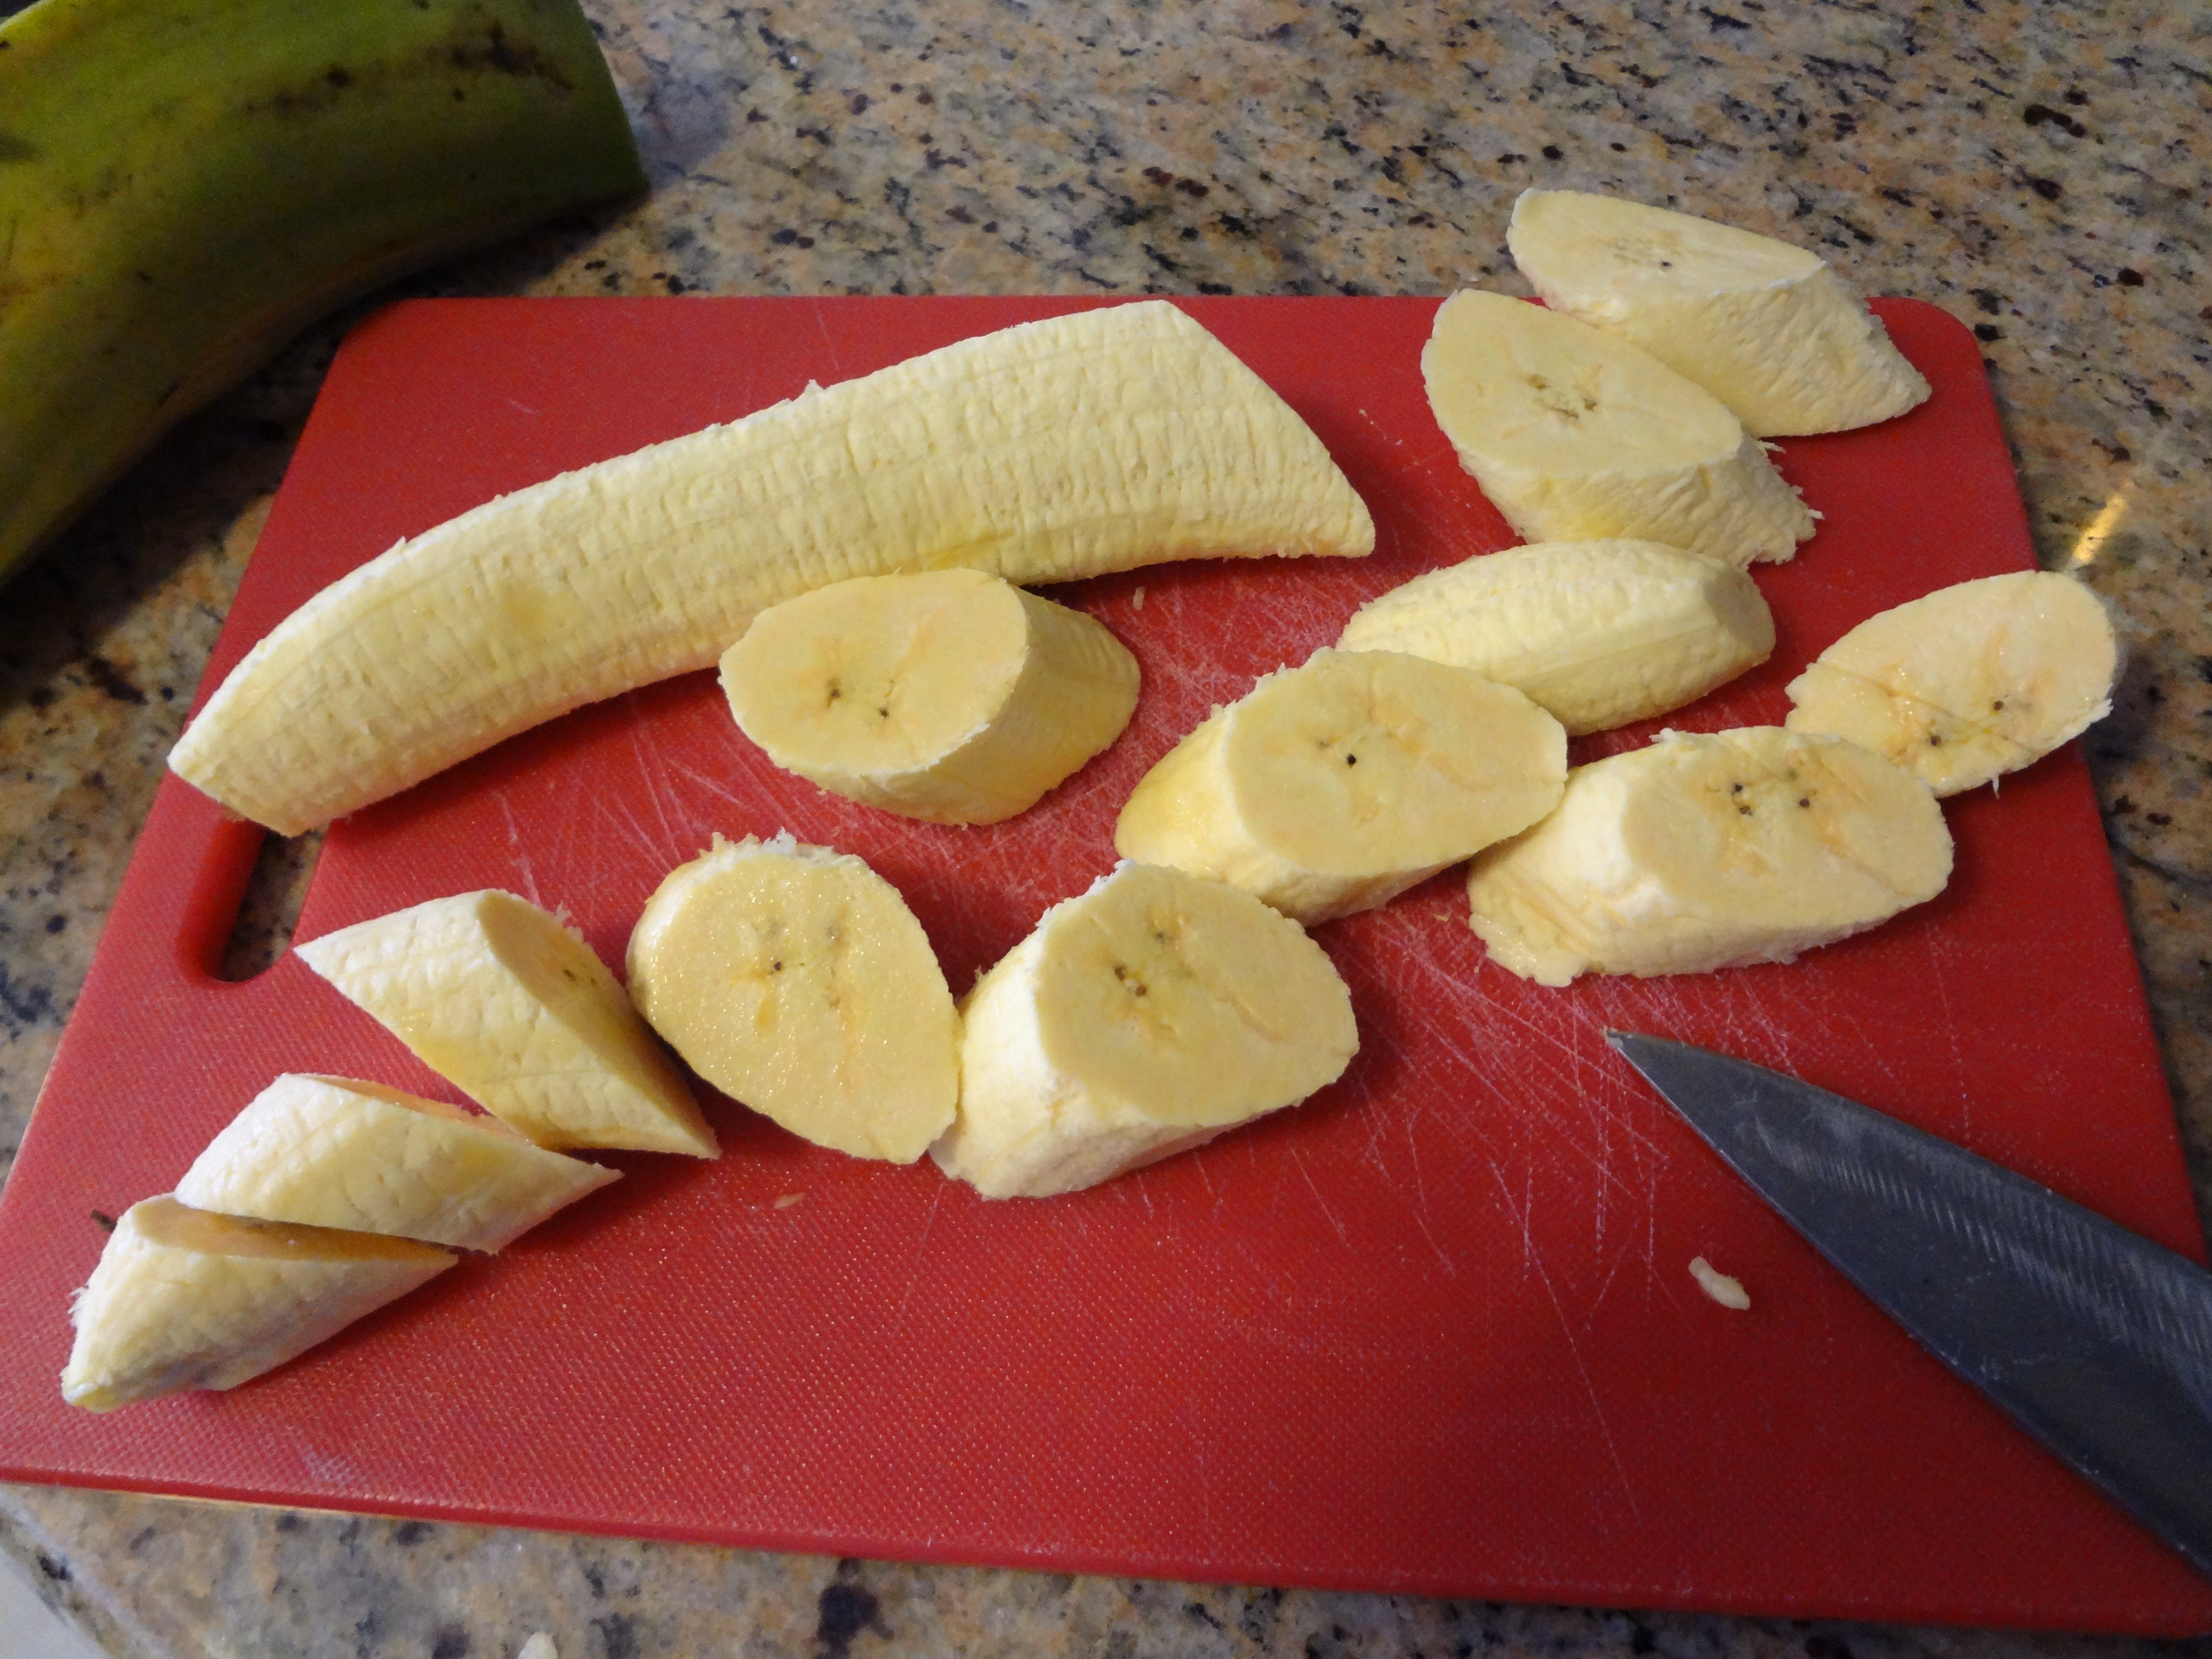
Remove the peel of the plantains by cutting off the top part, then sliding your knife lengthwise, making an incision to reach the flesh. The peel should come off like a jacket. Slice your plantain into oblong slices, about an inch thick.
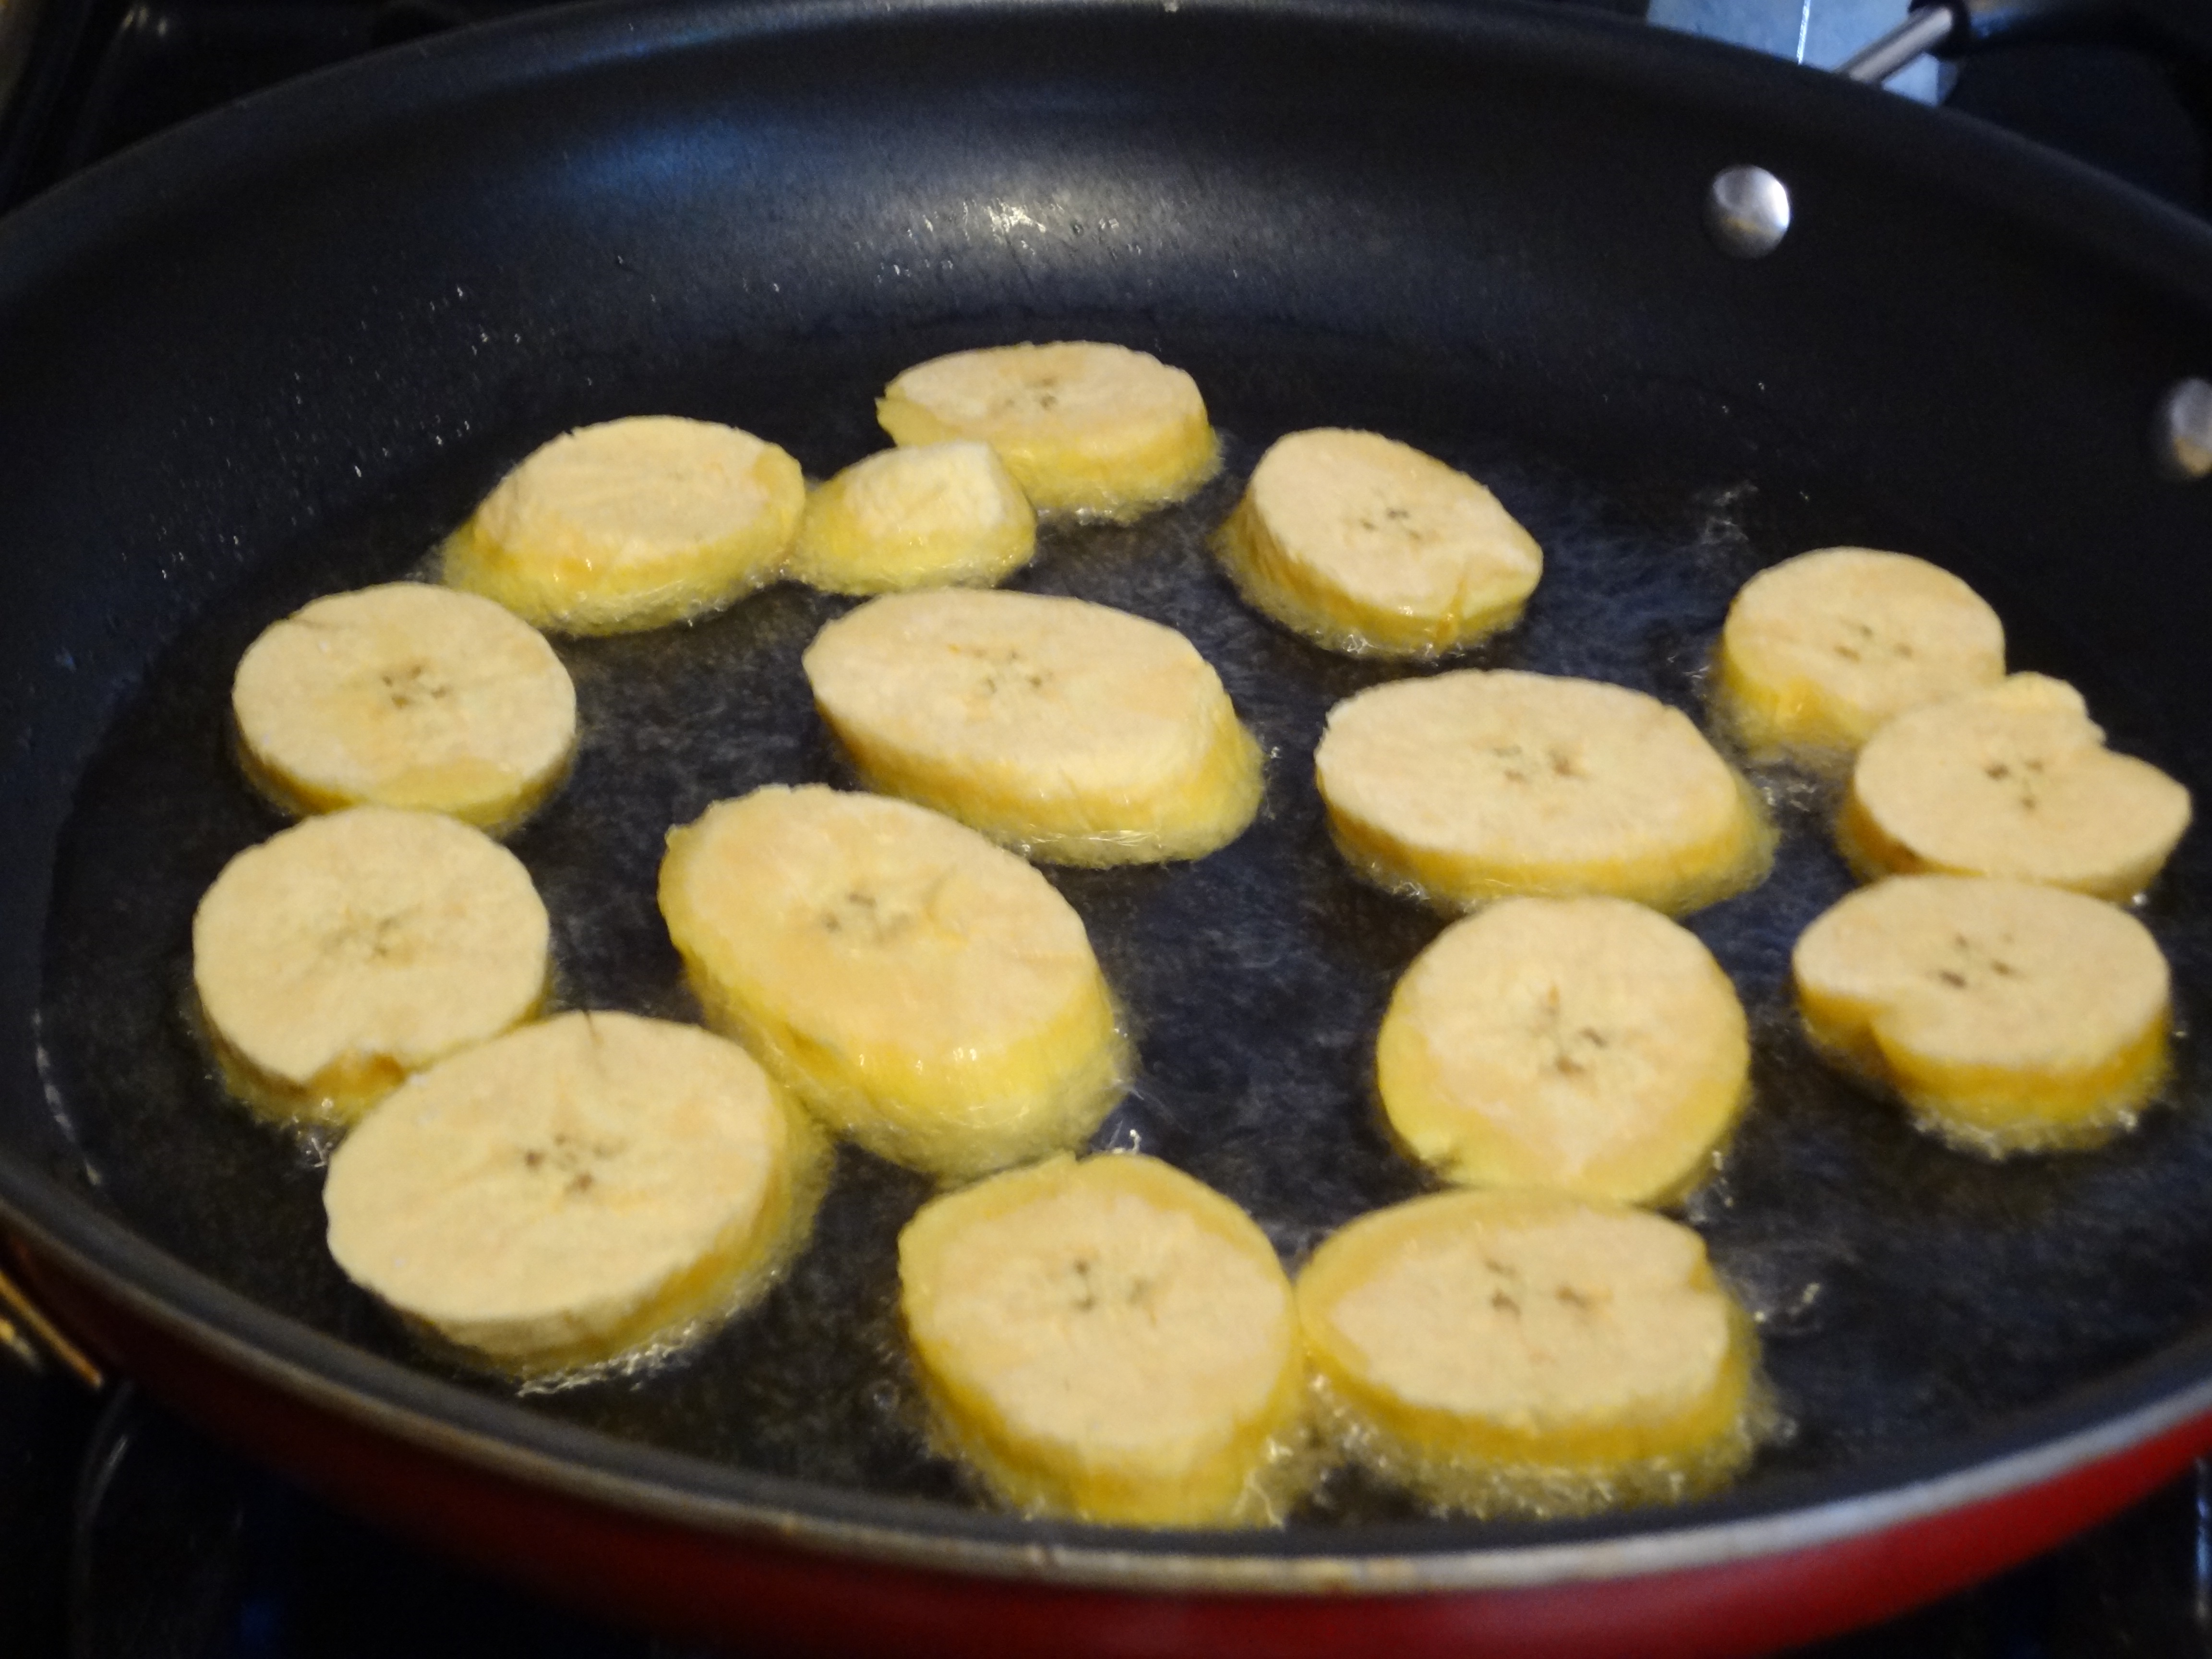
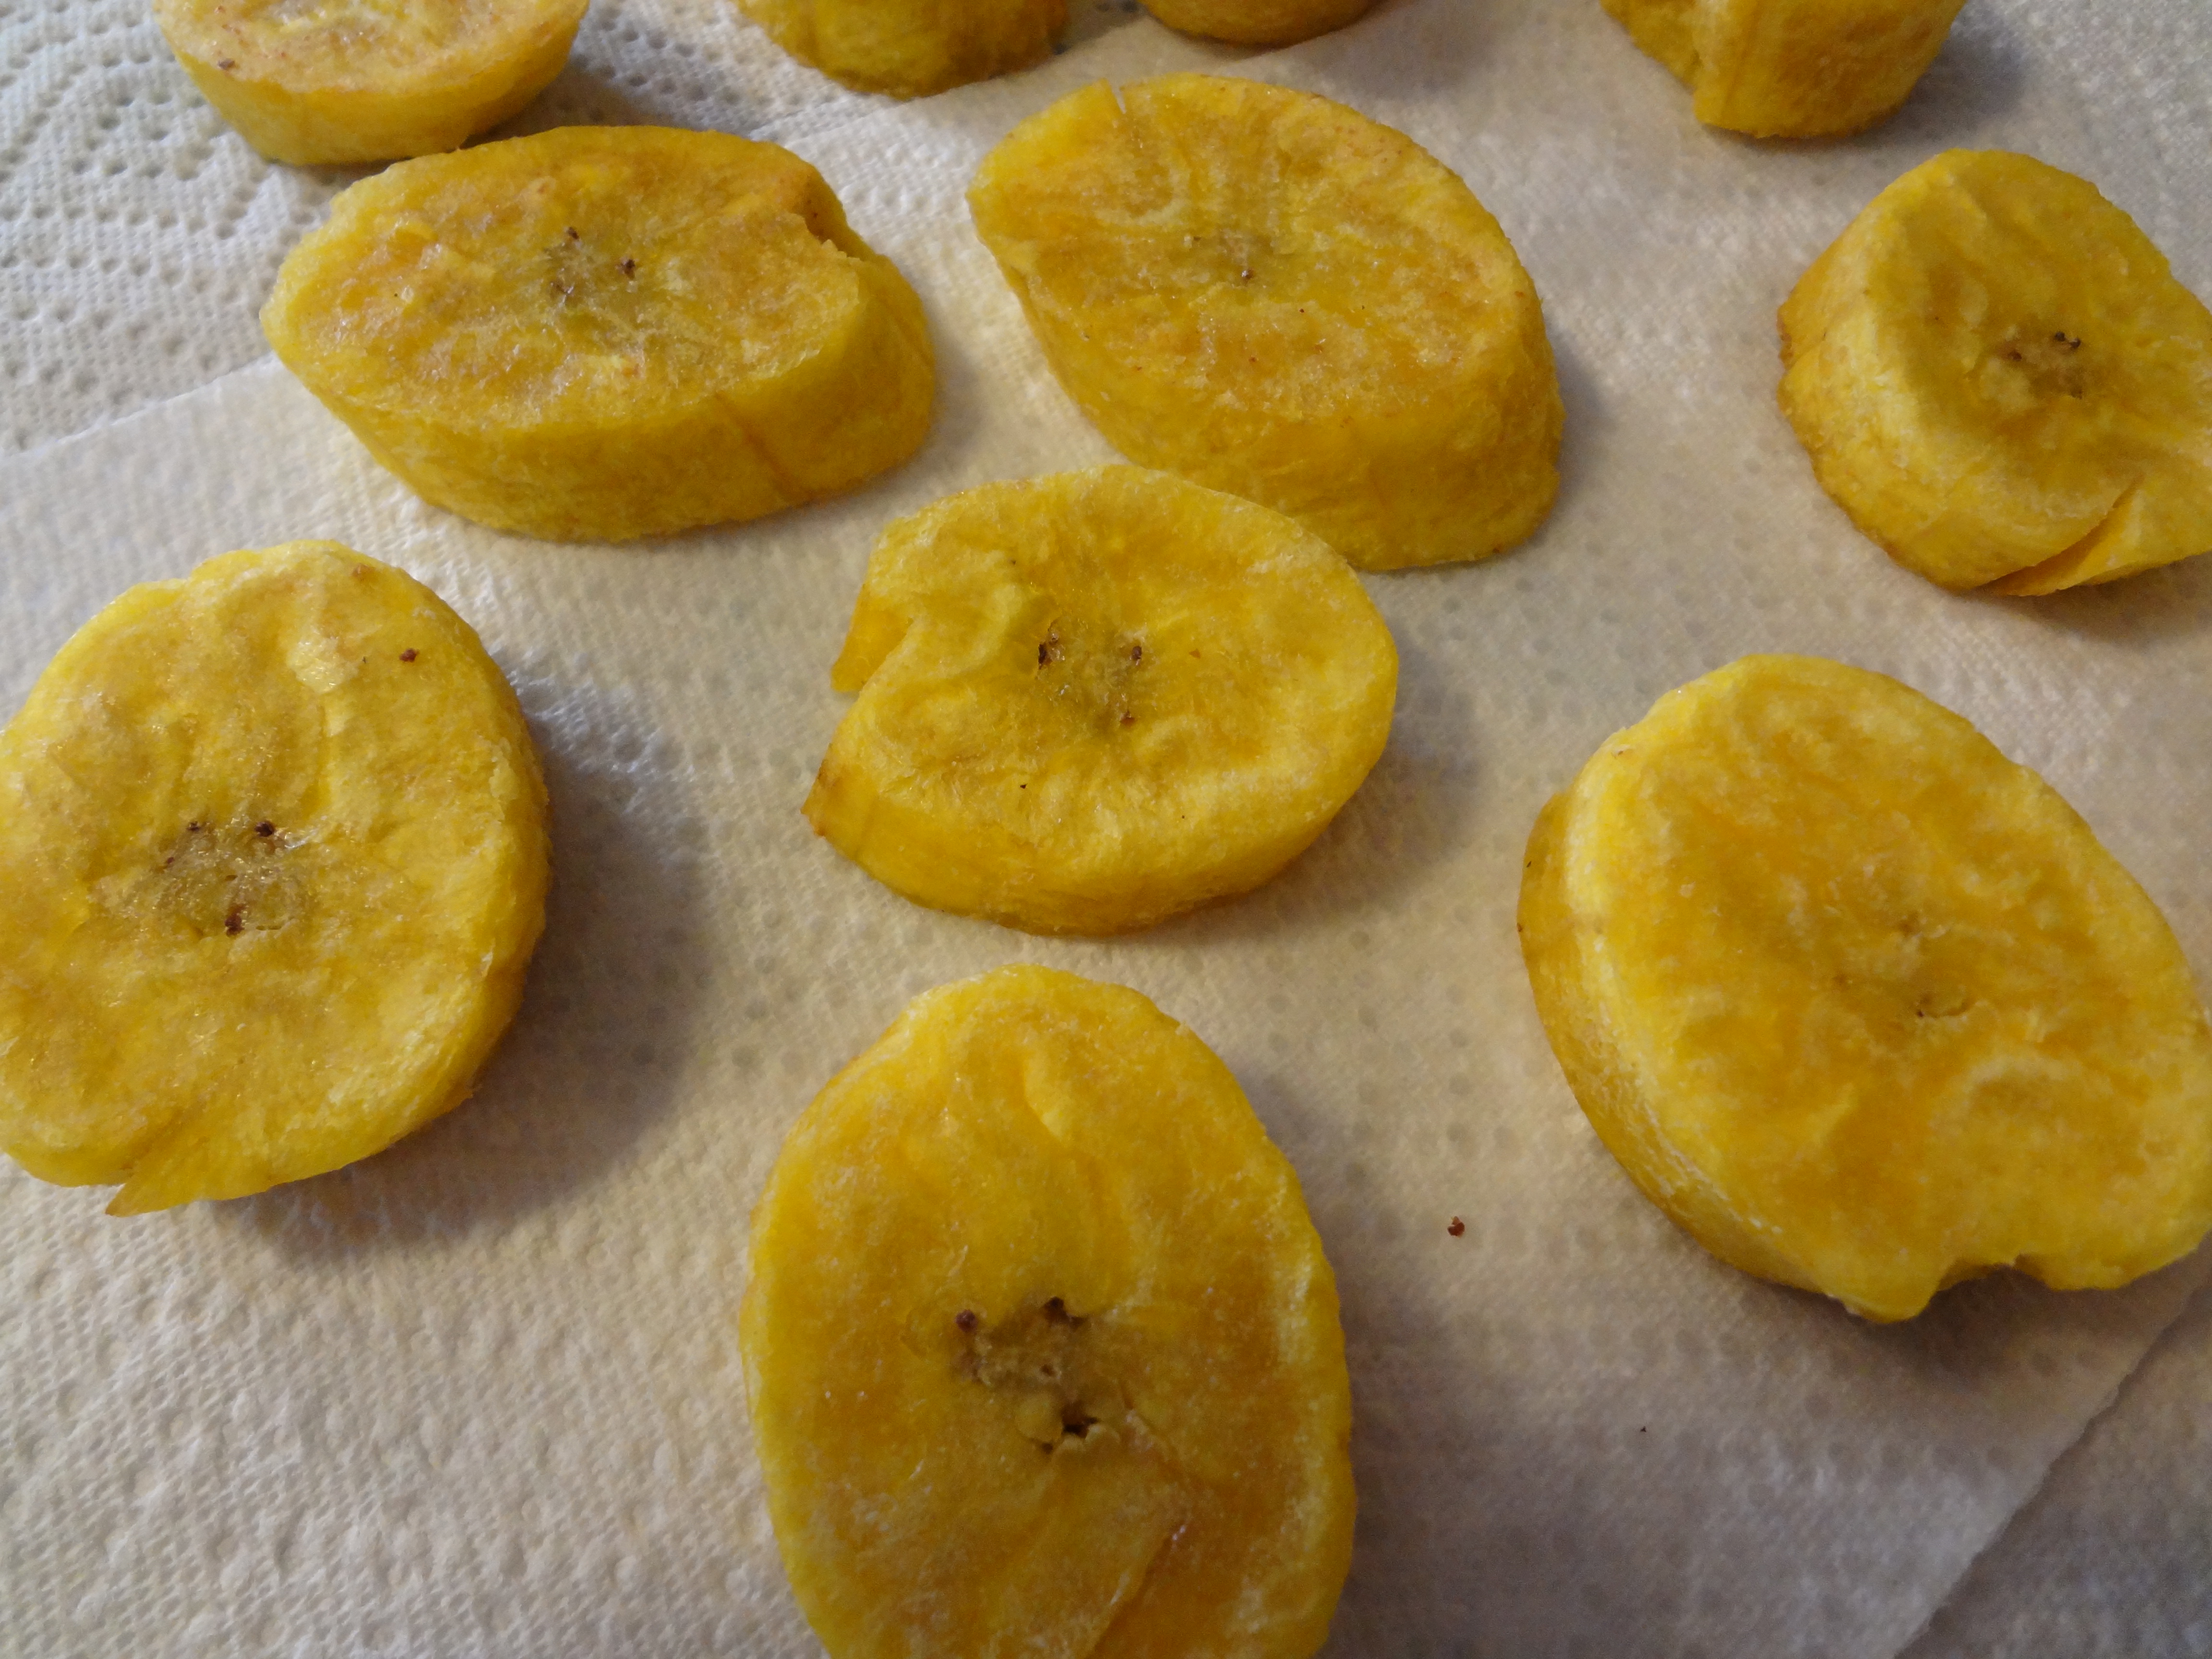
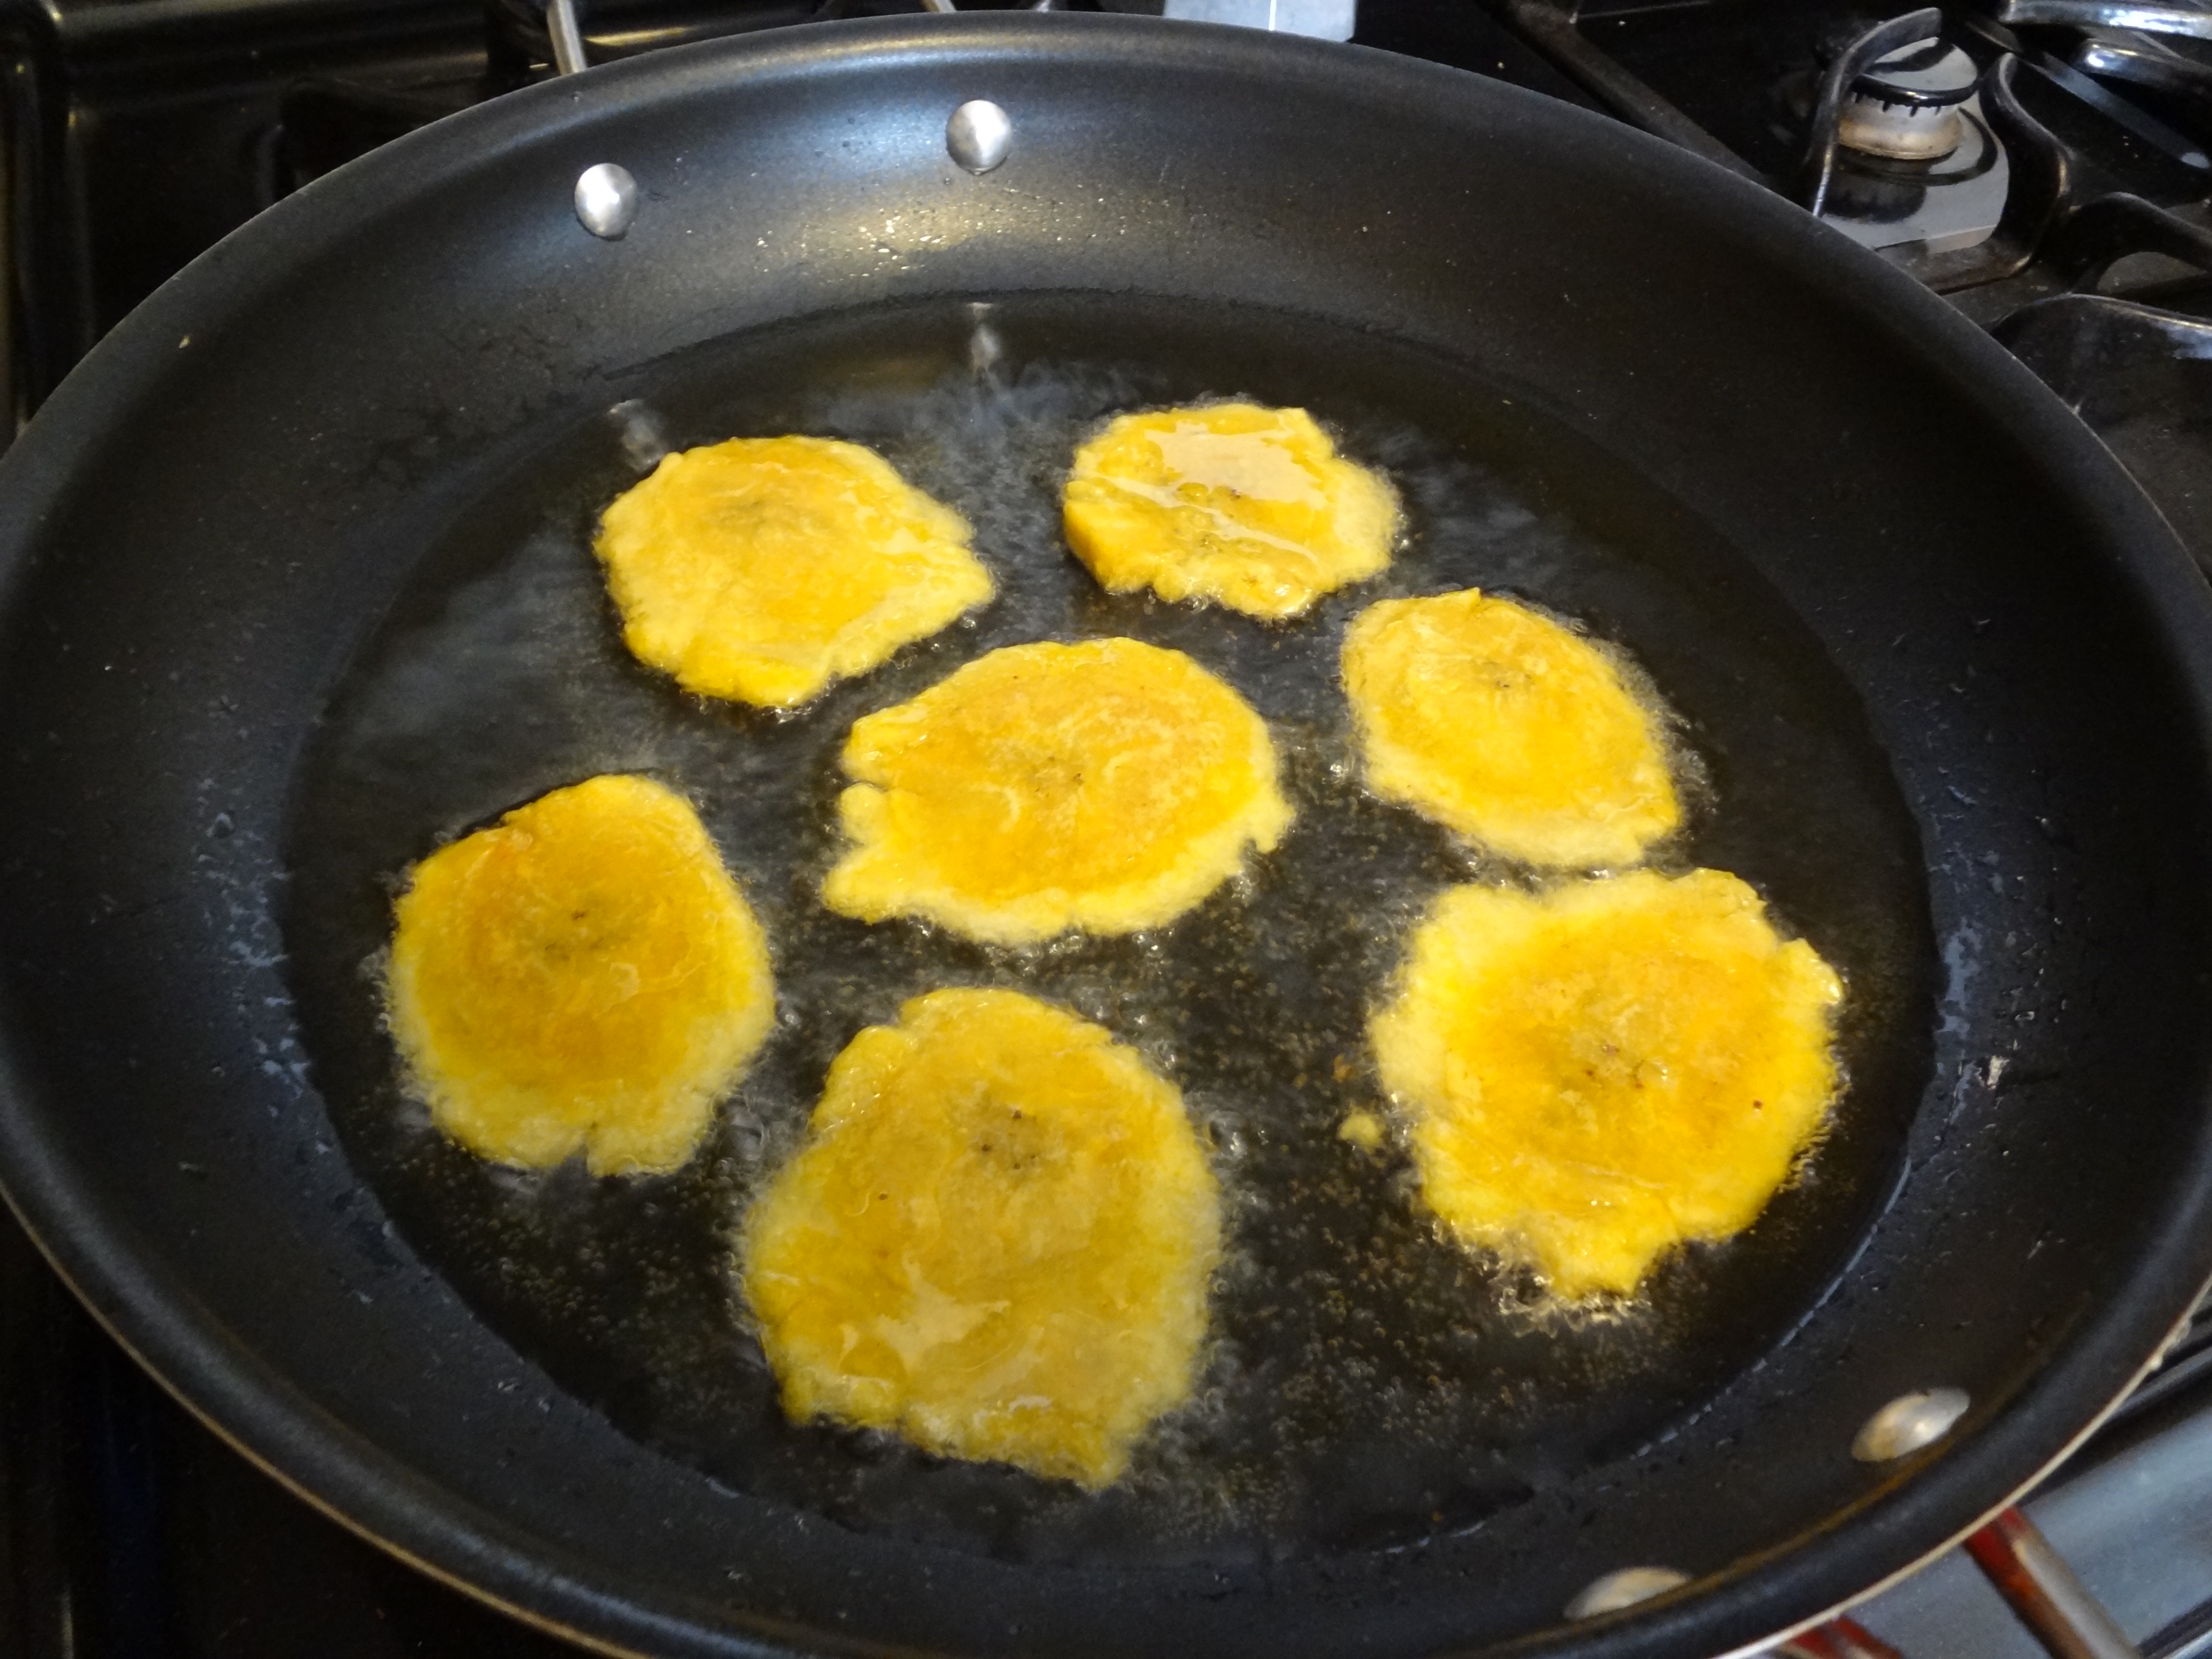
Pour an inch of Vegetable Oil in a frying pan and heat over a medium high flame. When the oil begins to shimmer, carefully place the plantains into the pan using tongs to help minimize the splatter. Fry the plantains, turning them so they turn golden evenly on all sides. This can take about a minute each side. You want to leave space between each plantain, in order not to dissipate the heat from pan, so you will need to fry them in batches.

Remove the plantains from frying pan and place on a paper towel covered plate to allow any excess oil to drain and add next batch to the pan. When you have completed frying all your rounds, turn off the stove.
Take a paper bag double folded and fold it in half again with enough length to fold over so they will have equal halves. Place your plantain round on center of one folded half of paper bag and cover with other half of bag and smash down to flatten plantain. Remove flatten plantain and place plate. Repeat until all are flattened.


Turn on the stove again to medium flame to reheat the oil. Start frying your smashed plantains. Only put a few in a time, as to not overcrowd the pan, to allow for maximum crispiness. Turn them over after a minute, as they will turn golden brown.
Remove from pan and allow to drain on a paper towel. Sprinkle them with salt. Continue the frying and salting process until all your plantains are double fried.

Serve immediately with Mojo condiment.
Buen provecho!


